A friend of mine recently asked for some help with a few decorations for a gathering she was having with some friends. I pulled together a few ideas and we decided to try a few things we found on Pinterest (where else?)

First, we bought18 wine glasses from the dollar store and dipped the bases in chalkboard paint. My friend already had the paint, so the total for this project was only $18!
This was a pretty simple project. I dumped some paint into an old Ziploc brand container and then dipped the glasses into the paint. (The dollar store glasses are the tiniest bit too big to dip straight into the paint quart.) The hardest part was figuring out how to let them air dry.
I used a quart of rustoleum chalkboard paint, but I think it would be easier to use chalkboard spray paint, simply because instead of dipping the bases in paint you just spray the bases and don't have to deal with all the drips. Anyway, I held them over the paint bowl until all the major drips ran off, then propped them up on a couple Ziploc brand containers and rotated them every few minutes until they were dry enough to stand upside down without dripping. I also wrapped painters tape around the base of each stem to stop any drips. This also helped keep the glasses from rolling off the containers. If I thought more about this step ahead of time, I probably would have tried slicing up an old foam pool noodle and placing each stem in a slit to dry.


Within an hour or so, they dried to a nice smooth chalkboard finish and will be a fun way for guests to mark their glasses. You could do this with anything and I am already thinking of other ways to use chalkboard paint - hot cocoa mugs perhaps?
Next, we took some inspiration from Martha Stewart and put together some labels for the buffet table. I simply cut out an oval shape, used a hole punch on each end, and fed a ribbon through. (I'd suggest writing on them before feeding the ribbon through, if you can.) These were simple to make and look elegant on a table. You could also use these as table place cards - I made 20 for less than $4.

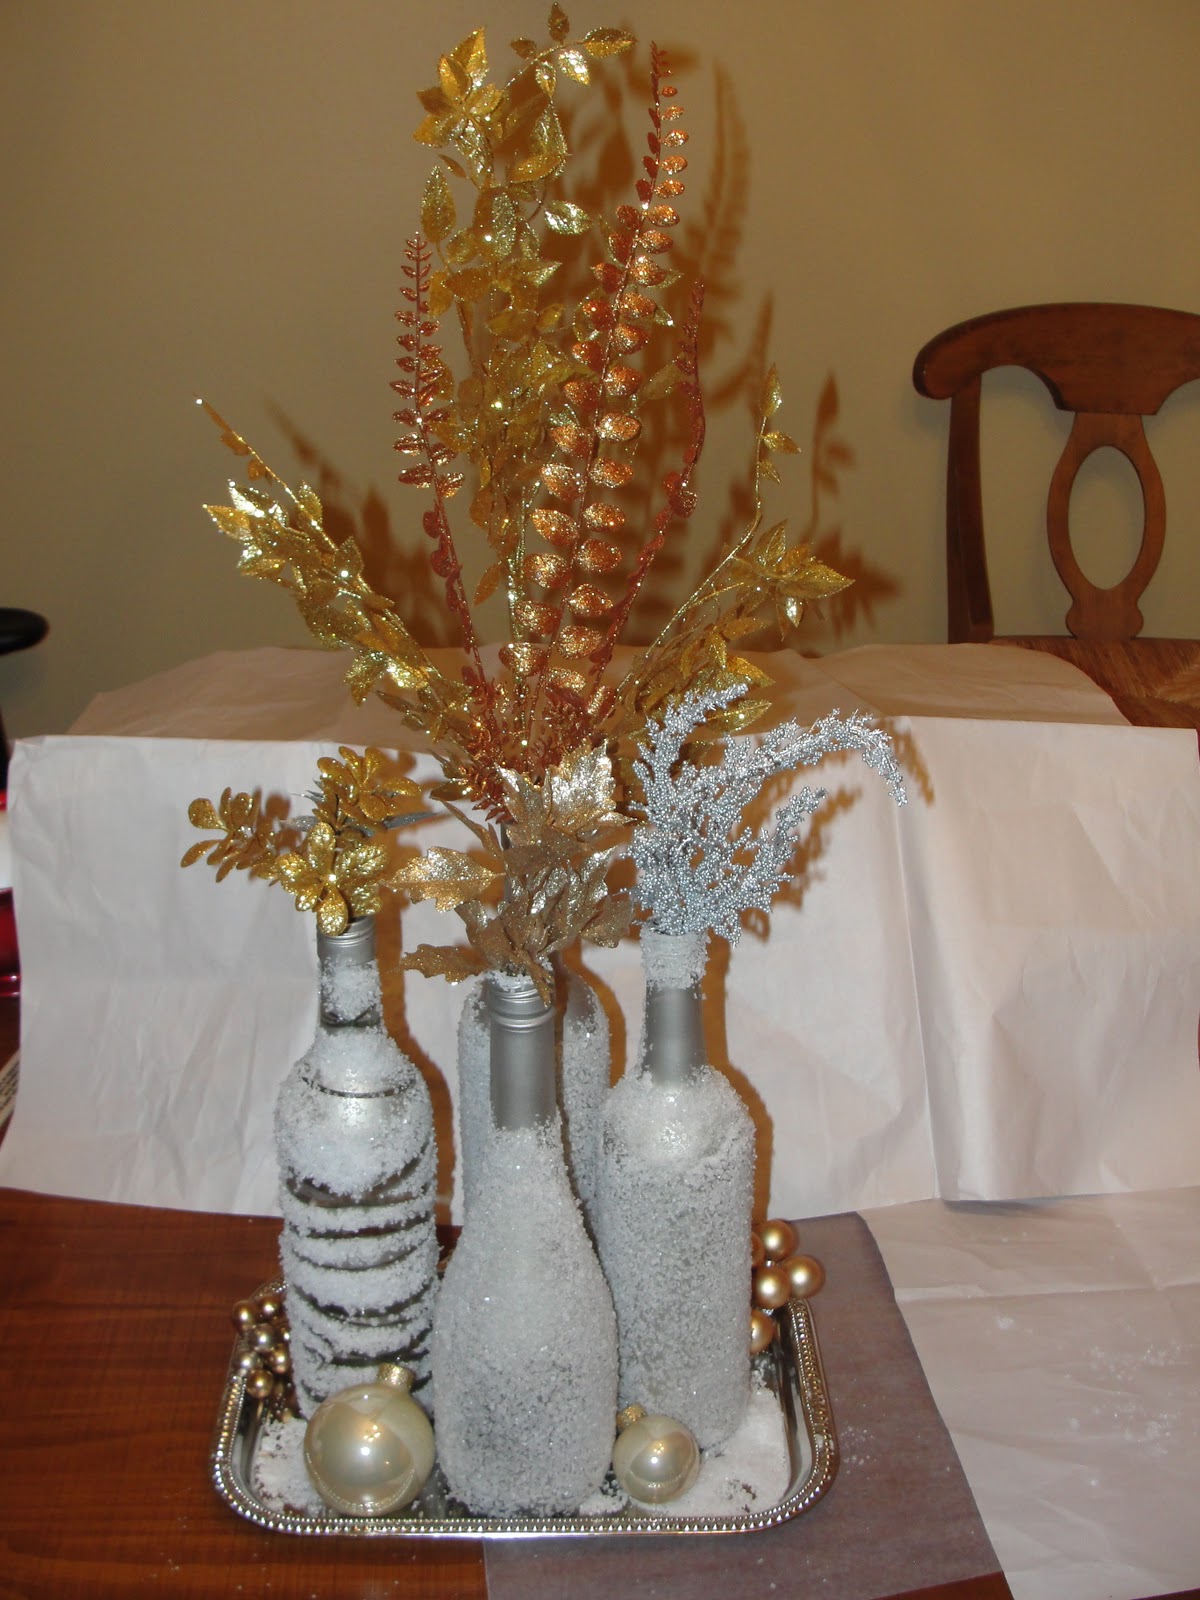
The final project was a bit more ambitious because I had never spray painted before and have always been intimidated by it. It was easy! We collected a few empty wine bottles (it helped that this was the week after New Year's!) I spray painted them a nickel color (Krylon has a line of metallic colors.) Then, after they dried, I used Elmer's craft spray adhesive to coat the outside and then rolled them in Epsom salt. The salt makes the bottles look like they were coated in snow. You can get the Epsom salt at any drugstore for a few bucks - I got this carton in the first aid section at Target. (The paint came from Hobby Lobby and the glue from Michael's.)

To give a little added dimension, I put some rubber bands on one of the bottles before painting. After rolling in the salt, I removed the bands to expose the clear glass. It's difficult to see here but it gave it a neat look with a stark contrast between the snowy white and the clear glass. It would be really cool to drop in a thin candle or an led light to twinkle through the glass.
I placed the bottles on a silver tray from the dollar store, then filled them with some metallic floral stems from the after-Christmas clearance at Michael's. I added some more salt to the tray to look like snow and then arranged some ornaments, metallic balls and tea lights around the base of the tray.
One note about the spray adhesive - when using it, be sure to pay attention to overspray. I placed paper around the bottles before spraying, but still managed to get glue all over my dining room table, my scissors and my hands. It definitely gets everywhere and leaves a sticky residue. Fortunately I had some Goo Gone on hand to clean everything up.
These were fun projects for me and I was able to try a few new things - like spray paint and chalkboard paint - that I had been looking to try.
 I finally got around to finishing that crib teething guard that I saw on Pinterest. It only took me about four months :) Although now that I think about it, that's really not too bad considering all the holidays and parties in November and December.
 If I would have thought about it ahead of time, I would have put the ties on before the bias tape, but I guess I'm not as good at foresight as I once was. So I used a seam ripper to make some room between the bias tape and the fabric, shoved the tie in between and restitched. Not the cleanest or easiest way, but it worked. And it was on the back side so it's not really visible.


